
Installing Sitecore 10 using Sitecore Installation Assistant (SIA) is quick and easy. Below are the 10 steps to get you started –
(Only manual step needed is to install SQL Server 2017/2019)
Step 1 – Install SQL Server 2017 or 2019 and SQL Server Management Studio (SSMS).
Step 2 – Download Sitecore 10 Graphical setup package for XP Single.
Graphical setup package for XP Single
Step 3 – Extract the content of the zip and initiate the setup.
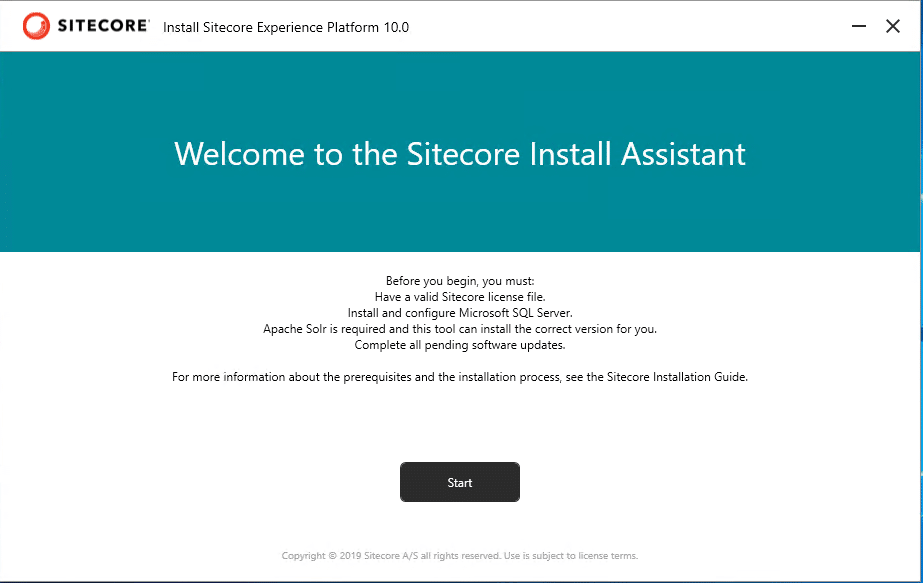
Step 4 – On the Welcome screen, click Start to begin the setup.
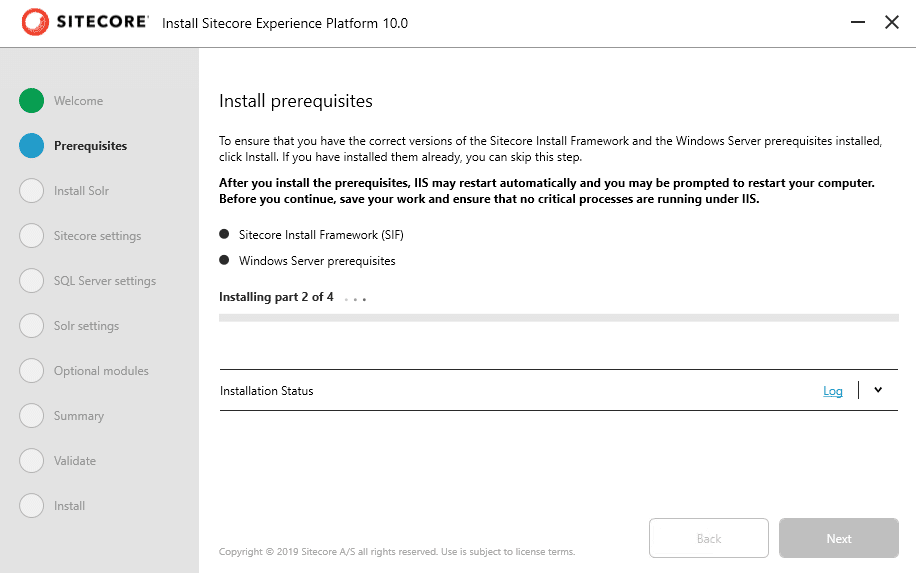
Step 5 – Install the pre-requisites. This should install SIF and Windows Server prerequisites including IIS and other modules.
Step 6 – Once prerequisites are installed successfully, you may have to restart the machine. Install Solr search service. Sitecore 10 needs SOLR 8.4

Step 7 – After SOLR is installed enter the Sitecore settings i.e. admin password and provide a license file.

Step 8 – Provide the SQL server settings i.e. SQL server name, admin username, and password.

Step 9 – Provide the SOLR details – service URL, root path the cores should be created and SOLR service name.

Step 10 – Optionally select Sitecore modules (SXA).

That’s it, SIA takes care of everything to successfully install Sitecore 10 on a dev machine.

If you need support with setting up your environments, why not look at our Assure.Ops service.


