Writing quality code is essential than writing code. Tight deadlines, changing scope, and rush to finish work often impede the quality. Unused variables, methods, code duplication, etc. are the common issues encountered in the day-to-day life of a developer. To avert such issues, one must automate the aspects of code quality control.
Several tools are available in the market to deal with code quality control in a robust way. SonarQube is one such tool that not only helps enforce coding standards but helps with the evaluation of architecture and design, unit tests, potential bugs, comments, complex code, etc.
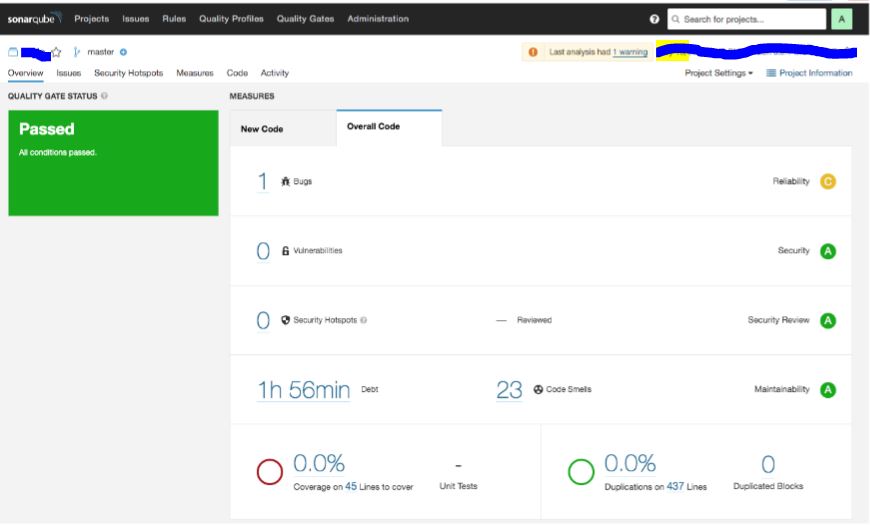
SonarQube is an open-source platform for ensuring code quality of the solution. It combines static and dynamic analysis tools to inspect the quality and provides a detailed report of bugs, code smells, vulnerabilities, coverage, Duplications, etc.

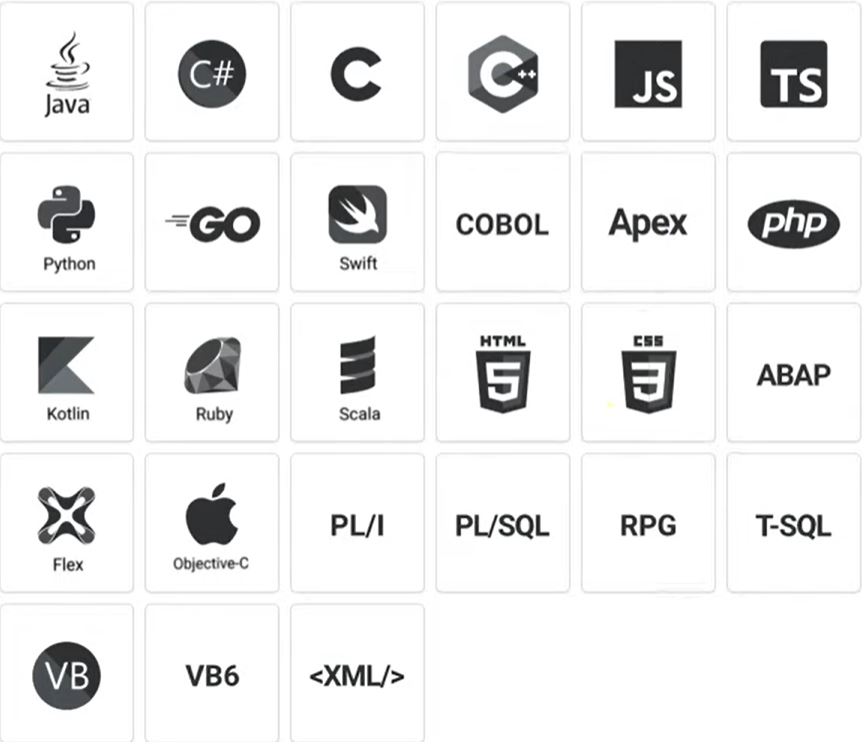
SonarQube, based on Java can analyze and manage code for more than 20 programming languages. It provides a cohesive experience and hundreds of static code analysis rules.

How to set up SonarQube?
Let’s see how to set up SonarQube and its prerequisites –
Prerequisites
The only requirement to get SonarQube up and running is Java. The server requires Java version 11 whereas the scanner requires Java version 11 or 17. It is always recommended to check the Critical patch update releases, which are shown below:

Setup local instance of SonarQube
- The SonarQube community addition needs to be downloaded from the link https://www.sonarqube.org/downloads/
- Unzip the file at any path e.g. C:\SonarQubeDemo
- Execute the below command as per the operating system
- On Windows, run the command
C:\SonarQubeDemo\bin\windows-x86-64\StartSonar.bat - On other operating systems, run the command
/opt/sonarqubedemo/bin/[os]/sonar.sh console
- On Windows, run the command
- Then, we need to test whether the local instance is up and running. Log in to http://localhost:9000 using system administrator credentials:
Login: admin & Password: admin

After pressing the “Log in” button on the overhead screen, the user will be redirected to the Dashboard page (shown in Picture A. Dashboard Page).
Analyzing a Project
After successful login into SonarQube, the project needs to be set up and analyzed. One needs to follow the beneath illustrated steps to create a project.
- Click on Create Project Button and enter applicable information in the provided fields as depicted below:

2. Select Generate a token and provide a token name. Post that clicks on Set Up button and then click Continue.
3. As the sonar scanner is set up, now execute the below command at the project path
sonar-scanner.bat -D"sonar.projectKey=SonarQube-Test-xp-" -D"sonar.sources=." -D"sonar.host.url=http://localhost:9000" -D"sonar.login=3dff1xxxxxxxxf1ebafxxxxxxxxx4a3b6"Generating Report
After a successful analysis of the code, the first analysis will appear on the SonarQube server on the Dashboard page. An option to download the PDF report is also available. PDF reports give a periodic, high level of overall code quality and security of the configured project.
Note: The PDF reports are available as part of Enterprise Edition and above.
To generate reports, a user must select the project and then choose More -> Reporting option in the menu.

Users can download reports from different options open basis on their needs. The distinct reports which are open are pictured below:

In this blog, I demonstrated what SonarQube is and how to install it. Also, we saw how we can generate reports after successful analysis and I really hope it will help you in your day-to-day life as a developer.
Rekha is Associate Sitecore Manager at Assurex, reach out to her on LinkedIn
